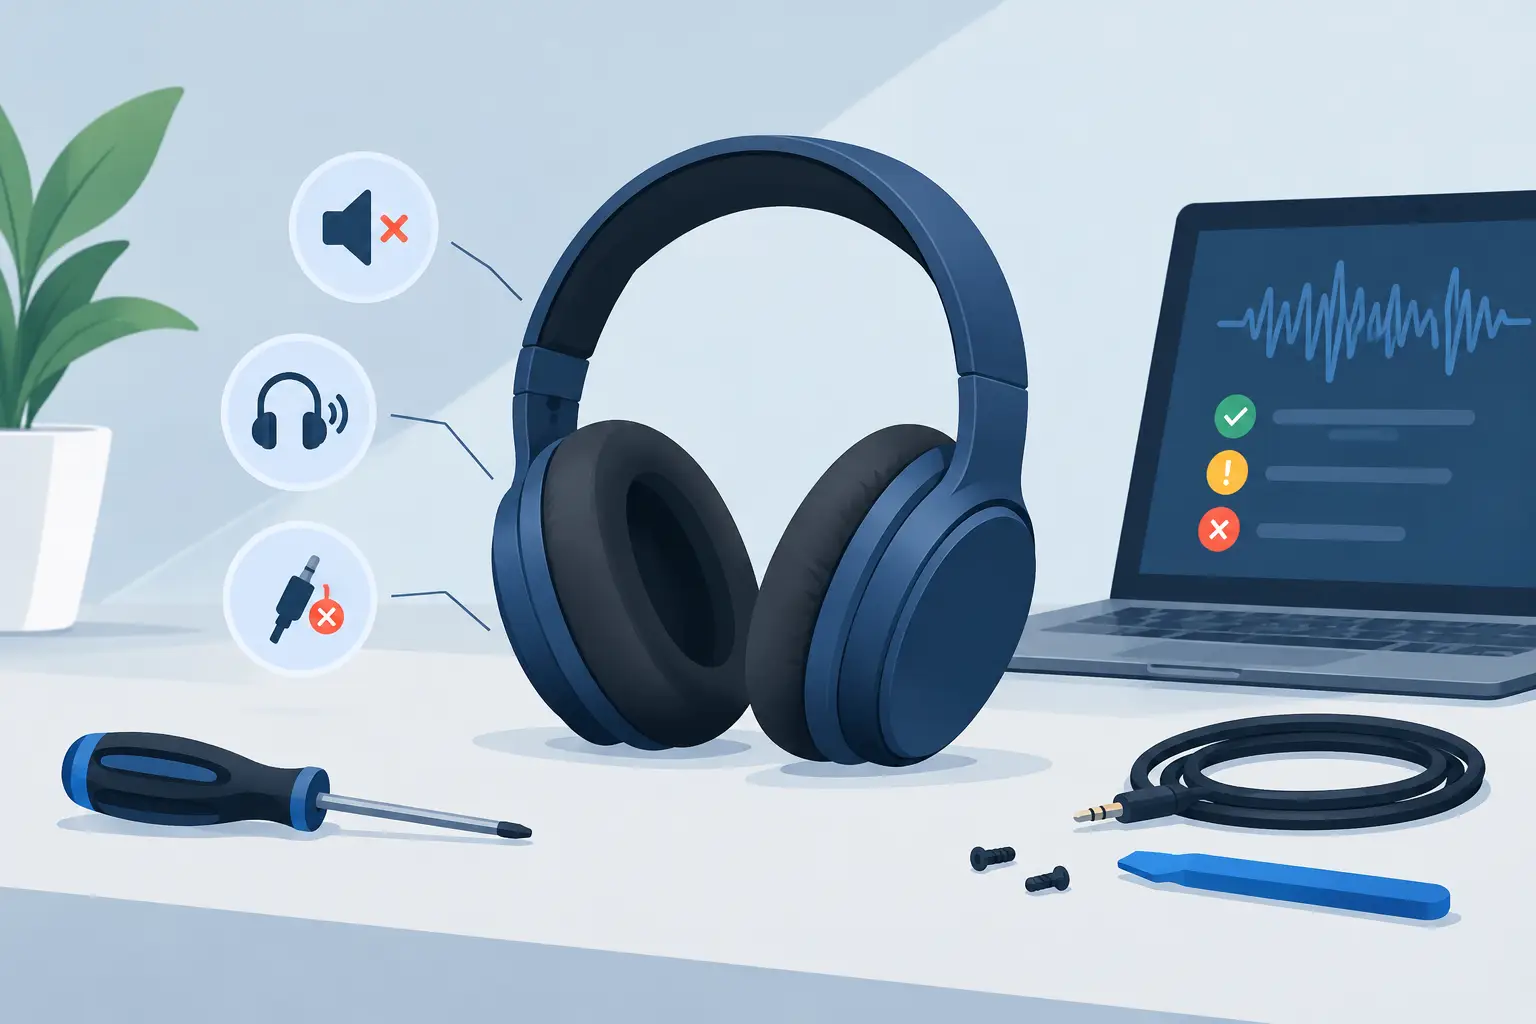
A guide to headphone fault diagnosis starts with one useful question: is the problem actually in the headphones? A silent ear cup, unreliable Bluetooth connection or weak battery can feel like a major failure, but the cause may be a phone setting, charging cable or app. Checking the simple possibilities first protects your time and helps you make a confident repair decision.
For AirPods Max owners, this matters even more. These are premium headphones with several connected systems working at once: battery, Bluetooth, microphones, sensors, speakers and noise control. The right diagnosis narrows the fault before money is spent on a replacement.
Guide to Headphone Fault Diagnosis: Start With the Source
Before focusing on the headphones, test them with another device. Connect to a different phone, tablet or computer and play a familiar track, podcast or video. If the fault disappears, the issue is likely to be the original device, its Bluetooth settings or the app being used.
Also check the obvious settings that are easy to miss. Make sure volume is raised on both the source device and headphones, Bluetooth is enabled, and audio is not being sent to a car, speaker or another paired device. On Apple devices, inspect the left-right audio balance in Accessibility settings. A balance control moved fully to one side can make a working headphone appear faulty.
Try more than one app as well. If speech is quiet only in one streaming service, or calls fail while music works normally, the headphones may not be the cause. App permissions, call settings and poor mobile signal can produce misleading symptoms.
Identify the Type of Fault
A fault that happens all the time is diagnosed differently from one that appears only after an hour of use, on a train, or when the headphones are moved. Notice exactly when it happens and whether one ear cup or both are affected. This detail is valuable if you decide to book a repair.
No sound or sound from one side
First, remove the headphones from Bluetooth settings, restart the source device and pair them again. Test at a moderate volume with a track that has clear sound in both channels. If one side remains silent across multiple devices, the fault is more likely to be within the headphones.
Low or muffled sound can have a simpler explanation. Check the ear cushions and speaker mesh for dust, make-up residue or moisture. Use a clean, dry, soft brush or lint-free cloth only. Do not push debris through the mesh, use sprays or insert sharp tools. These methods can damage delicate components and turn a minor cleaning issue into a repair.
Distortion, crackling or rattling at certain volumes may point to a damaged speaker, moisture exposure or an internal connection problem. Test at low, medium and higher volumes. If the noise is present even at low volume and across different devices, stop increasing it. Loud testing will not fix the fault and may make a damaged driver worse.
Bluetooth and connection problems
Intermittent connection is frustrating because it can look like a hardware fault when it is really a pairing conflict. Forget the headphones from every regularly used device, then reconnect them to one device first. Keep that device nearby during the test and move away from Wi-Fi routers, crowded stations or other sources of wireless interference where possible.
For AirPods Max, check that they are fully charged, then place them in the Smart Case briefly before trying again. If connection remains unreliable, reset the headphones according to Apple’s official reset process and pair them afresh. A reset can clear a software or pairing issue, but it will not resolve a worn battery, faulty internal cable or failed component.
If the headphones connect but repeatedly drop out, note whether the issue occurs with every device. A problem isolated to one phone is usually a device or software setting issue. Dropouts across several devices, particularly alongside charging or audio faults, justify a professional diagnosis.
Battery and charging problems
Battery faults often develop gradually. You may notice shorter listening time, unexpected power loss, failure to hold charge overnight or a battery percentage that jumps around. Start by testing with a known working cable and compatible power adaptor. Inspect the connector for lint or visible damage, and make sure the plug sits securely.
Give the headphones enough time to charge before judging the result. A deeply depleted battery may not respond immediately. If there is still no charging indication after testing another cable and power source, the battery, charging port or charging circuit may need attention.
Heat is a warning sign. If headphones become unusually hot while charging, disconnect them and do not continue testing. Likewise, do not use swollen, damaged or non-standard batteries. Battery replacement is a specialist repair, not a job for improvised tools or online parts of uncertain quality.
Noise cancellation, transparency and microphone faults
When active noise cancellation sounds uneven, test each mode in a quiet room. Switch between noise cancellation, transparency and standard listening mode, then listen for hiss, popping, feedback or a major difference between ear cups. Wind noise outdoors can affect microphone-based modes, so an indoor test gives a clearer result.
Call quality needs a separate check. Make a voice recording or phone call, then ask whether your voice sounds distant, broken up or overly quiet. Remove any case, cover or accessory that may obstruct microphones. If the same microphone issue is heard on several devices and after a reset, it is more likely to require repair.
Check for Physical Clues Without Taking Them Apart
Look closely at the headband, hinges, ear cushions, charging port and controls. A loose ear cup, cracked housing, bent connector or control that does not click or turn normally can help explain the fault. Note any recent drop, water exposure or impact, even if the headphones appeared fine initially.
Avoid dismantling premium headphones at home. Internal parts are compact, cables are delicate and an incorrect repair can cause further damage. It can also complicate a later professional repair. External checks, careful cleaning and software troubleshooting are sensible. Opening the headphones generally is not.
When a Reset Is Worth Trying
A reset is a reasonable step when the headphones will not pair, controls behave unpredictably, mode switching fails or the connection drops without a clear physical cause. Make sure the headphones have charge first, follow the manufacturer’s instructions precisely and reconnect them as a new device afterwards.
Do not treat a reset as proof that the problem is solved. Test music playback, calls, charging and noise control after reconnecting. If the same symptom returns, write down what happened and when. A repeatable fault is far more useful than a vague description such as “they stopped working”.
Know When to Choose Repair or Replacement
Repair is often the better value option when the headphones are otherwise in good condition and the fault is limited to the battery, audio, connectivity or charging. It extends the life of an expensive product and avoids replacing headphones that may only need one targeted repair.
Replacement may make more sense after severe physical damage, repeated faults or if the repair cost is too close to the price of a professionally refurbished pair with warranty cover. Condition matters too. New ear cushions can improve comfort, but major damage to the headband or housings changes the calculation.
For AirPods Max, a specialist diagnosis is the clearest next step when home checks do not isolate the problem. MaxFix offers a free diagnosis and a No Fix No Fee repair approach, giving you a practical route to assess the fault before committing to a repair.
Keep the symptoms simple and specific when arranging support: which ear cup is affected, which devices were tested, whether charging works, and whether the fault is constant or intermittent. That small amount of information can speed up diagnosis and move you closer to getting back to the sound you paid for.